How to Shoot Professional-Quality Reels on Your Phone
Shoot professional-quality reels on your phone: light, audio, framing, hooks and editing, step by step, for businesses that want their videos to look polished.
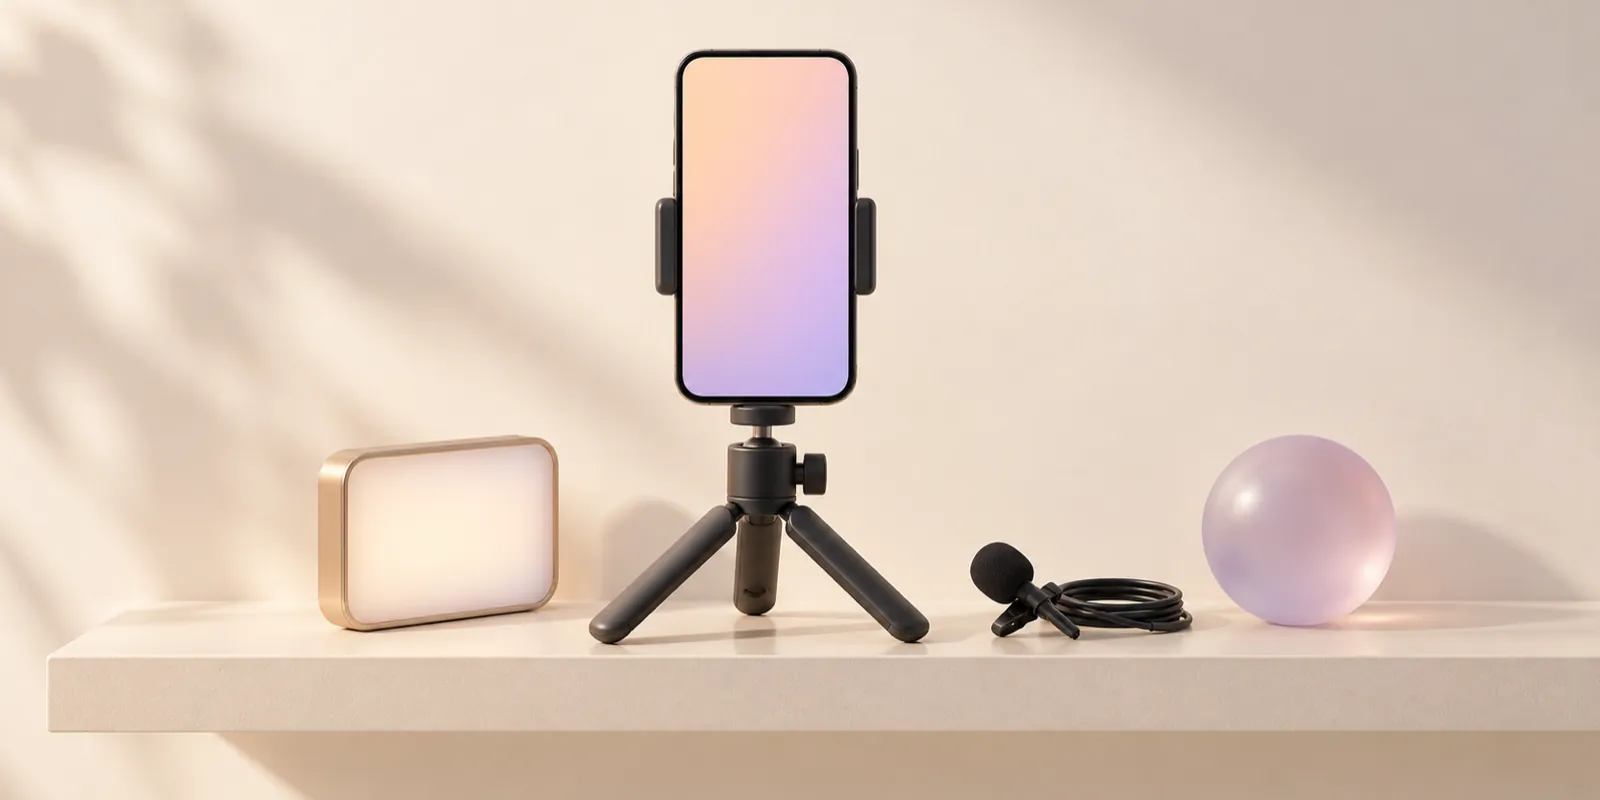
Shooting professional-quality reels doesn't take an expensive camera. It takes five decisions almost nobody makes on purpose: light, audio, stability, framing and pacing. In this guide you'll learn how to handle each one with your phone and a couple of accessories, so your short videos look as polished as your brand.
For many customers, a reel is now the front door. Someone scrolls, pauses on your video for a second and decides right then whether to pay attention or keep going. If the video looks dark, sounds echoey or shakes, the decision is made before your message ever arrives.
What you need before you start
- A phone with a clean lens. It sounds obvious, but a fingerprint on the lens is the most common cause of hazy images with halos.
- A small tripod or stand with a phone mount.
- A lavalier mic, ideally wireless, that works with your phone.
- An editing app you feel comfortable with. CapCut, Instagram's built-in editor or your phone's own editor are all fine to start.
- Your brand identity at hand: colors, typefaces and tone. If you're still defining your palette, the guide to choosing a brand color palette will help you pick colors that also work on video.
Step by step: how to shoot reels that look polished
1. Plan the reel in three lines
Before you open the camera, write three lines:
- The hook: the first line or image that stops the scroll.
- The value: what the viewer takes away (they learn something, see a process, get a question answered).
- The action: what you want them to do at the end (save, comment, message you, visit your profile).
Why it matters: a reel without a plan runs long, repeats itself and loses people halfway. With three lines, you know what to shoot and what to skip.
Illustrative example: picture a bakery in Guadalajara. Hook: "This is what a concha looks like when we make it by hand at five in the morning." Value: the process, from kneading to oven. Action: "Stop by before ten today and try one fresh out of the oven."
Common mistake: saving the good part for the end. In a short video, the ending is only seen by people who already stayed.
2. Master natural light
Light changes the perceived quality of a video more than anything else, and the best source you have is free: a big window.
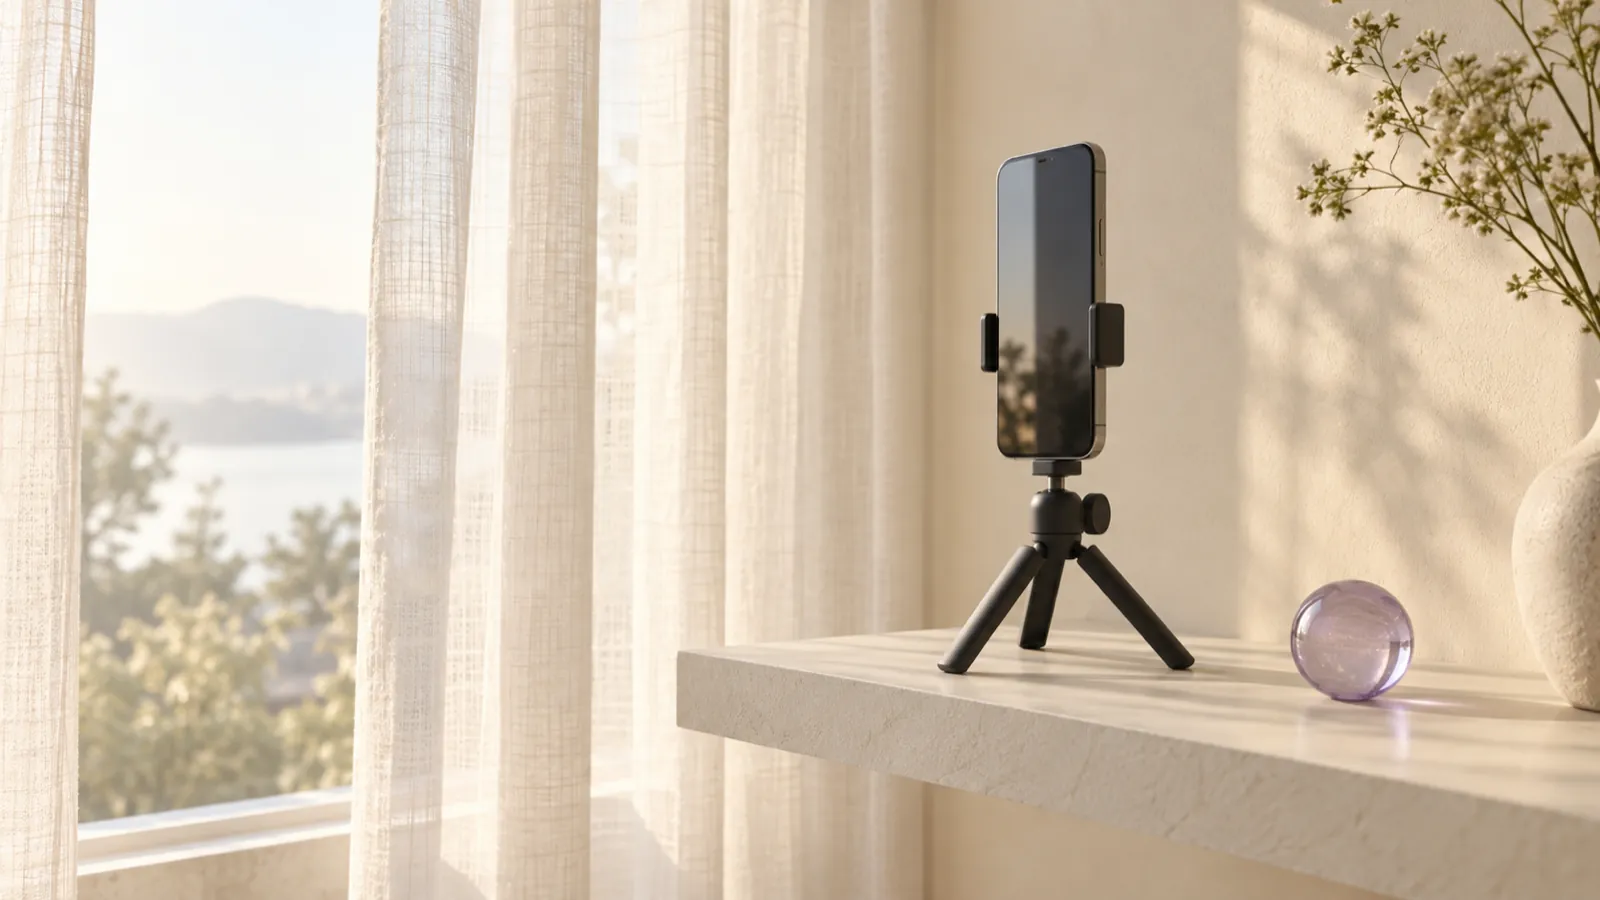
How to use it:
- Face the window or stand beside it, never with your back to it. If the window is behind you, the phone exposes for the sky and your face falls into shadow.
- Look for soft light. A sheer curtain or an overcast day spreads the light and erases hard shadows. Direct sun carves up the face and makes you squint.
- Turn off the overhead lights if they're a different color from the window. Mixing yellowish light with daylight gives skin tones a strange cast.
- Lock the exposure. On most phones you can press and hold on the screen to lock focus and exposure. That way the image doesn't change brightness every time you move.
If you shoot at night or in a room without windows, a small LED light with a diffuser, placed to one side and slightly above your eyes, mimics the effect of a window.
Common mistake: shooting under the midday sun falling straight down. Shadows under the eyes make anyone look tired.
3. Get the audio right before the image
Audio is the clearest difference between an improvised video and a professional one. Your phone's mic sits far from your mouth and picks up room echo, the air conditioning and the street.
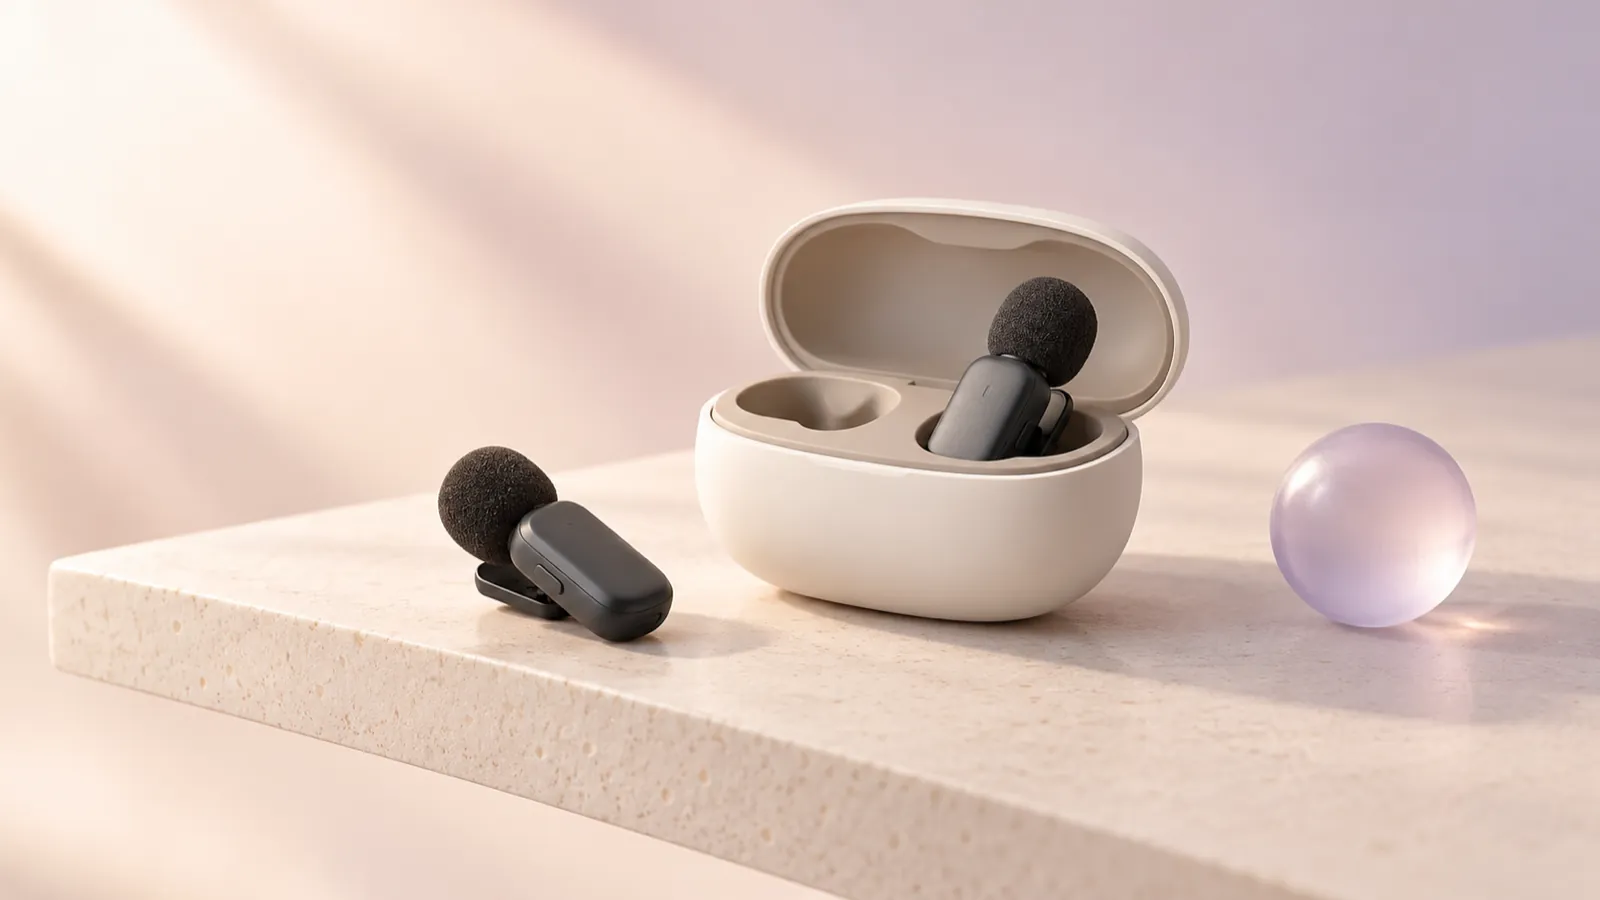
What to do:
- Use a lavalier mic clipped at chest height, about a hand's width from your mouth, away from rustling clothes or hair.
- Pick a room with soft things in it: curtains, couches, a rug, full bookshelves. Hard, empty surfaces bounce sound around.
- Turn off anything that hums: fans, air conditioning, nearby refrigerators, phone notifications.
- Do a ten-second test and listen back with headphones before shooting everything. It's the cheapest way to avoid redoing an entire session.
Illustrative example: a salon in Monterrey that films tutorials next to the hair dryers can shoot right at opening time, before the noise starts.
Common mistake: cranking up the volume in editing to make up for distant audio. The noise goes up with it.
4. Stabilize the camera
A shaky video feels amateur even when everything else is right. You have three options:
- A tripod for anything shot from a fixed frame: talking to camera, showing a product, explaining a process.
- Slow movement with both hands if you need to walk. Keep your elbows tucked in and take short steps with your knees slightly bent.
- A stabilizer or gimbal if you shoot walkthroughs often.
Common mistake: using digital zoom to get closer. You lose quality. Move the phone closer instead.
5. Frame vertically, with intention
Reels, TikToks and Shorts are watched vertically, full screen. Shoot vertical from the start; cropping a horizontal video leaves you with a smaller, softer image. YouTube, for example, asks for Shorts in a square or vertical aspect ratio, and Instagram lists its recommended dimensions in its Help Center article on reel sizes.
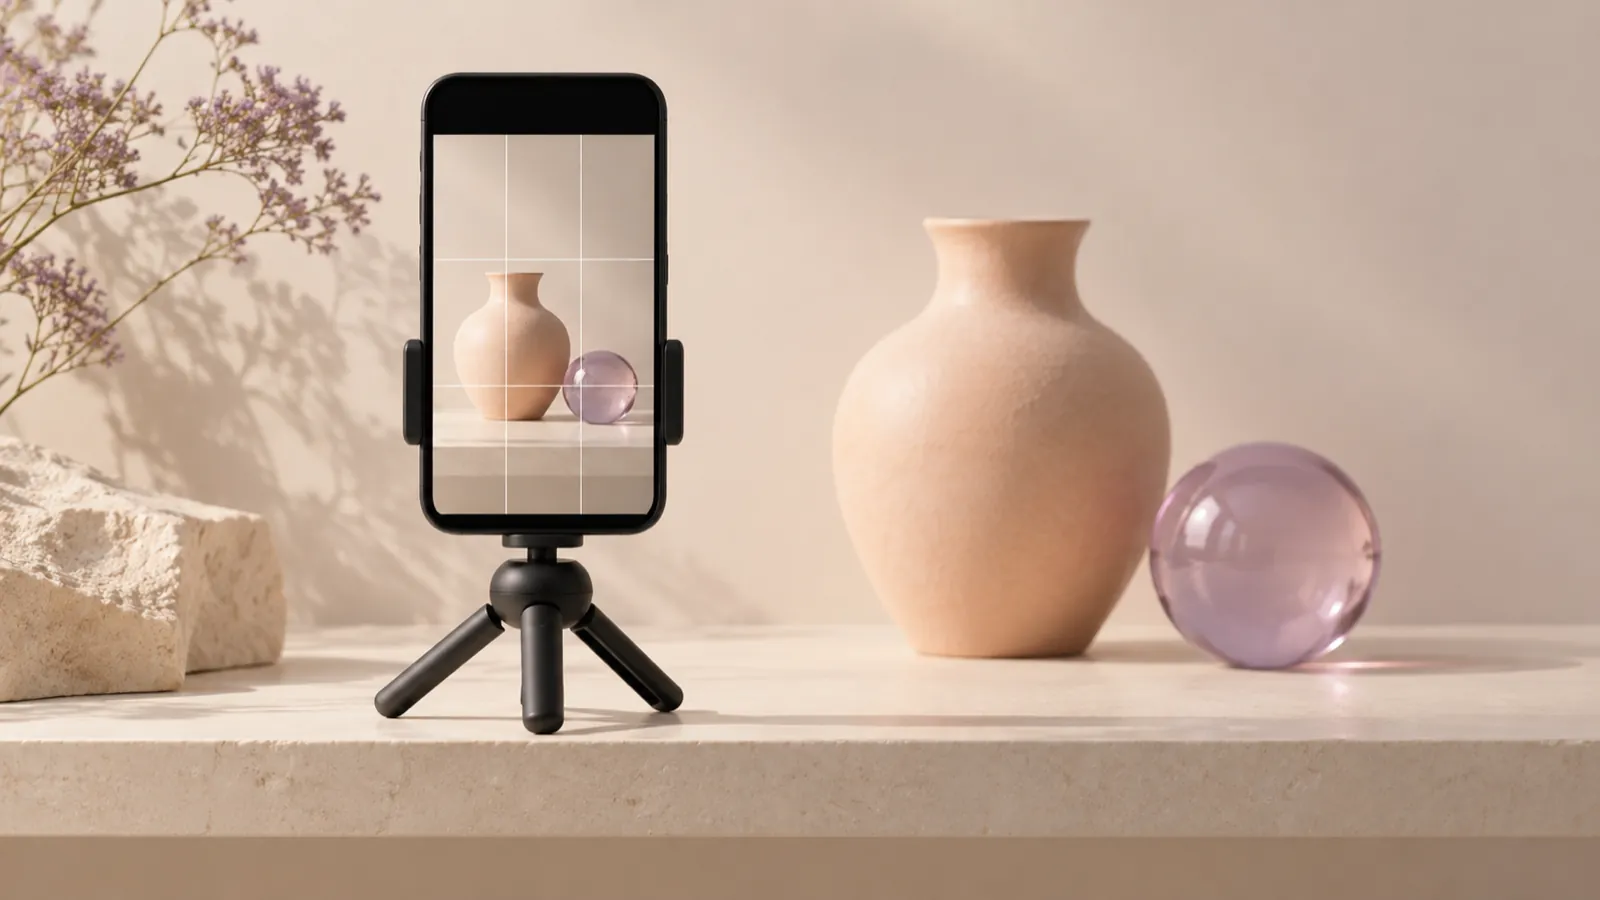
Framing rules that work:
- Turn on the grid in your camera settings. Place your eyes near the top horizontal line, not in the dead center of the screen.
- Watch the edges. At the top and bottom, each app places your username, the caption and its buttons. Keep your face and any important text in the center zone.
- Camera at eye level. From below, it adds a double chin; from too high, it looks like a video call.
- Check the background. A tidy background with one element of your brand (a color, a product, a plant) says more than a blank wall or a messy room.
Common mistake: shooting with the front camera because it's easy to see yourself. The rear camera usually has better quality. If you need to see yourself, put a mirror behind the phone or use your wireless mic's monitor if it has one.
6. Shoot short, varied takes
A professional reel isn't one long take. It's several short takes that keep the eye awake.
For each reel, try to capture:
- Main shot: you or your product covering the core idea.
- Details: hands at work, textures, steam rising from a drink, the shine on a surface.
- Reaction or result: the end of the process, a satisfied face, the finished product.
Let each take run a couple of seconds longer than you need, at the start and at the end. That margin saves you in editing.
Common mistake: talking nonstop through the whole video. Leave a breath between sentences so you can cut without the voice sounding choppy.
7. Shoot products with light and movement
If you sell a product, the reel is your shop window. The key is showing its texture and its real size.
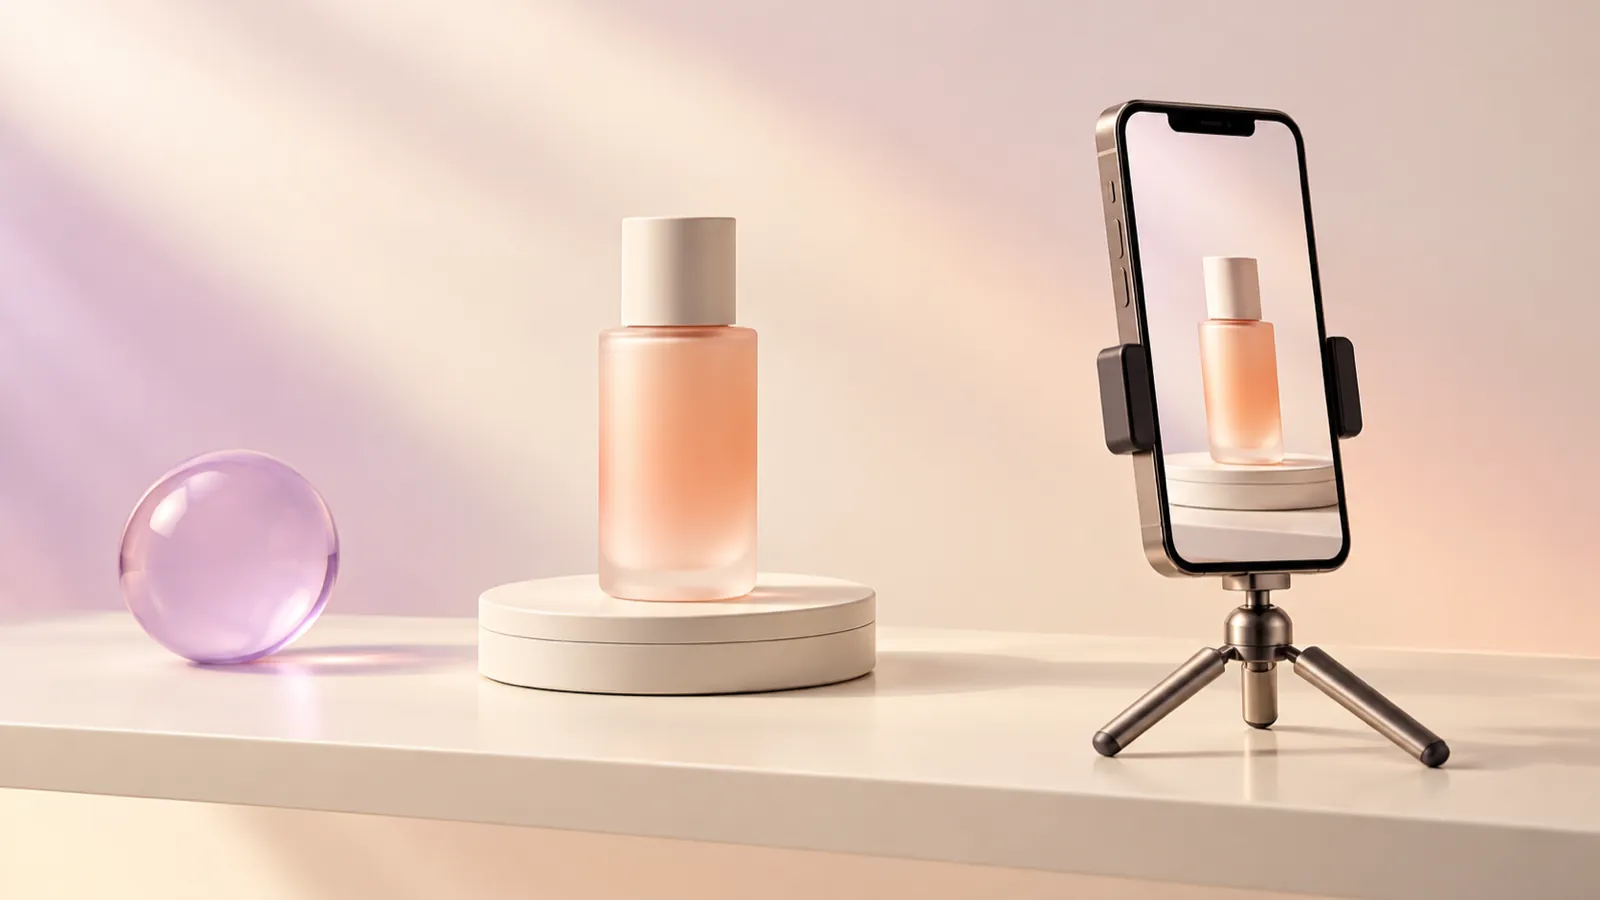
Simple techniques:
- Turntable. A slowly rotating base shows every side of the product in one smooth motion, without moving the camera.
- Side light. Light coming in from the side makes glass shine, brings out the texture of paper or fabric and separates the product from the background.
- A background in your brand color. A sheet of paper or poster board in one of your colors ties the video to your identity.
Illustrative example: an artisan candle brand in Puebla can film the candle turning on a base, with window light from the side, followed by a close-up of the wick catching flame.
Common mistake: shooting the product with the flash or under ceiling lights. It flattens shapes and creates harsh reflections.
8. Edit with rhythm and captions
Editing is where good footage becomes a good reel.
- Cut the opening. Start on the hook, no greetings, no pauses.
- Rhythm. Change shots every time the information changes. If a take doesn't add anything, it goes.
- Captions. Many people watch reels with the sound off. Use legible captions in your brand's typeface and colors, and check the spelling.
- Licensed music. Use each platform's audio library or tracks licensed for commercial use.
- Cover. Pick a frame or design a cover with a short title. It's what people see on your profile.
- Export at the highest quality your editor allows.
If you add an AI-made brand character to your videos, define its visual rules first so it looks the same in every piece.
Common mistake: filling the screen with text.
9. Post, watch and adjust
Posting is half the work. Each platform's insights show you the second people drop off, how many save the video and how many visit your profile.
Use those signals for your next shoot. If people leave in the first few seconds, work on the hook. If they stay but don't act, rethink the ending. Don't hunt for a magic formula: look for patterns in your own videos.
To keep all of this organized and avoid shooting in a rush, lean on a content calendar. And if your brand needs a longer, planned piece, the guide to corporate video that sells applies the same principle in more depth.
Pre-shoot checklist
- The lens is clean.
- You've written down the hook, the value and the action.
- Light reaches you from the front or the side, soft, with no mixed colors.
- Exposure and focus are locked.
- The mic is on, and you've tested ten seconds with headphones.
- The phone is on a tripod, or you're holding it with both hands, close to your body.
- You're shooting vertical, with the grid on and the camera at eye level.
- Nothing important sits along the top or bottom edges.
- The background is tidy and includes something from your brand.
- You've shot details and the result, not just the main take.
When you want every video to feel like the same brand
With this guide, you can produce polished reels with your own gear. If you want every video to speak with the same visual voice as your logo and your website, BDB Agency, a branding and video production agency in Cancún, Mexico, handles audiovisual production and branding together, so everything feels part of one system. See examples in our portfolio or write to us through our contact page.
Frequently asked questions
Do I need to buy a camera for my reels to look professional?
No. Today's phones record at more than enough quality for social media. What separates a homemade reel from a polished one is light, audio, stability and editing, and you can handle almost all of that with a little gear and good technique.
Which accessory should I buy first?
A lavalier mic, ideally wireless. Viewers will forgive a simple image, but they leave a video when they can't understand what's being said. After that, a small tripod is worth it, and if you shoot at night or in dark interiors, an LED light.
How long should a reel be?
Just long enough to deliver what the hook promises. Each platform sets its own limit and updates it often; YouTube, for example, accepts Shorts up to 3 minutes. Beyond the limit, the useful question is whether every second earns its place.
Can I use the same video on Instagram, TikTok and YouTube Shorts?
Yes, as long as you shoot vertically and keep important text away from the edges, where each app places its buttons. Export a clean file from your editor, without another platform's watermark, and adapt the caption to each network.